
Add a UA Logo and Site Title
The site logo and title are treated as a single image. Therefore, to edit the text, you will edit the Logo field.
Hover over the logo and click Edit
- In the image editor that appears, click on the existing text (probably your name). Type the desired text. See figures below for making size, font, and color adjustments.
- To add a second line of text, click the Text icon.
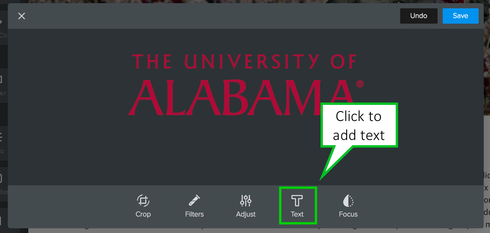
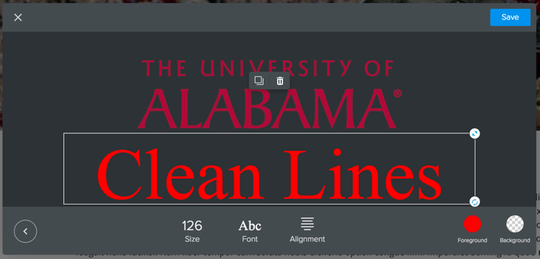
- The text box appears with red font. Click in the box and type the text you would like to appear in your site title.
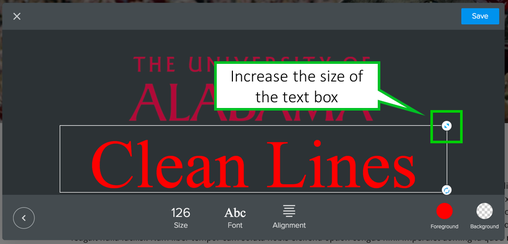
- Change the size of the text box by dragging the arrow at the top right of the text box.
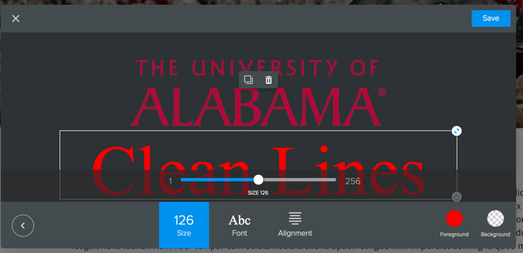
- Change font size with the size icon. Just drag the bar up or down until the font is a size you like.
- Change the font color by clicking on the red icon. We cannot type in an exact color number, so do your best to match the crimson, black, or white.
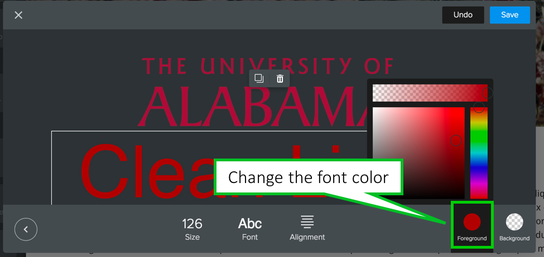
- Click the font icon to change the font style. There are only four to choose from.

When you’ve made all the changes needed, click Save in the upper-right hand corner.
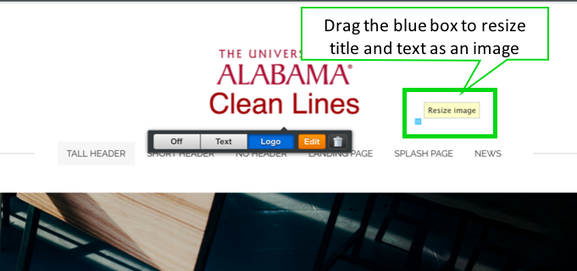
Step 4: Change the size of both the logo and the text
Step 4: Change the size of both the logo and the text
- Hover over the title area again and you should see a small blue box in the lower right-hand corner. Click and drag the box in and out to change size of both the logo and the text.
If you encounter any problems or special situations where there is not enough room for your text or part of it gets cut off, please call our office and we will help resolve the issue.