
Create a Blog Post
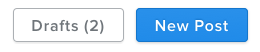
A new blog starts with a blank content area and a sidebar with some default content that you can easily change. To create a new post for your blog, use the New Post button at the bottom of the blog itself.
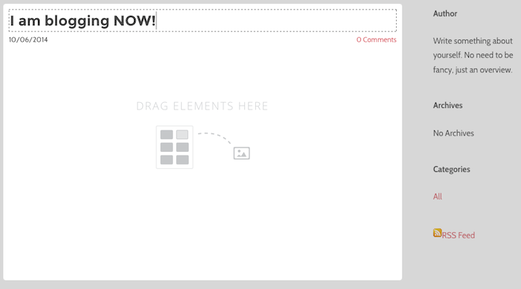
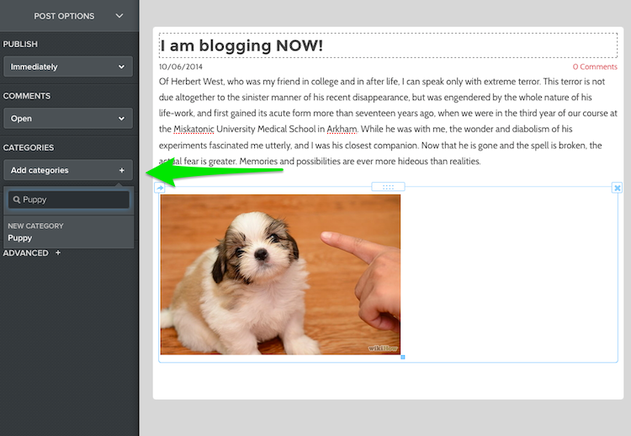
Your blog post has a title and a content area. The title should generally be short - no more than a sentence long or so. Just like the headline of a newspaper article.
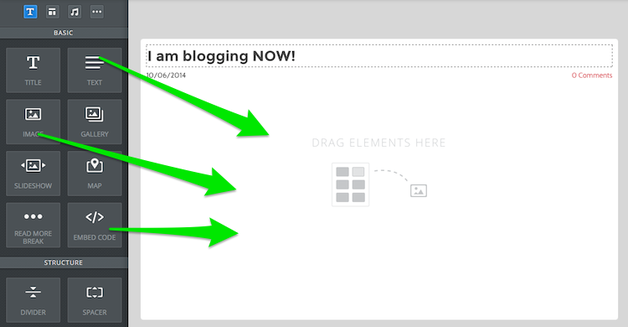
Adding content to a blog post works the same way as adding content to a regular page - just drag elements into the post and edit them to add content.
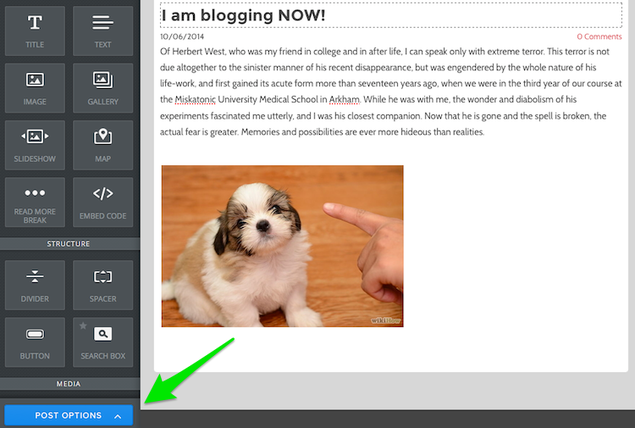
Once you've added your content you can categorize the post - these categories will appear on your sidebar, making it easier for visitors to find posts that cover specific topics. Categories can be whatever you like and it isn't necessary to use them.
Click Post Options button to get started:
Click Post Options button to get started:
Then click the Add categories button.
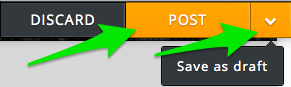
When you're done you can click the Post button in the upper right corner to publish the post to your live site (which will make it instantly available for visitors) or click the arrow next to the Post button to "Save as draft" (which will allow you to edit/publish it later).
If you save the post as a draft, it will be accessible to you through a drafts area at the bottom of the blog page from within the editor (along with any other drafts you've saved). Just click the Drafts button to edit it further and save / Publish.
Every new post you publish will appear at the very top of the page, pushing older posts farther down. After you've added ten posts to the page, older posts will be moved off the main page to easily accessible archive pages. You can change the number of post visible by clicking the Blog Settings button at the bottom of the screen.